
The nice thing about the new Blogger is you can easily add Google AdSense to your blog using their built in page elements. Login to your Blogger account, navigate to “Template” => “Page Elements” and then within the layout area, click on “Add a Page Element”. From there you’ll see this screen where you want to select the “AdSense” Page Element and click on “Add to Blog”.

Next you’ll see another screen where it will ask you to login (if it’s the first time you’ve tried to add this AdSense Page Element before). Just enter the email address and password you used when setting up your AdSense account. Once you successfully login, you’ll next see the ad configuration screen. This is where you select the ad format type (leaderboard, banner, text ad, etc) with many different sizes to choose from. Now remember to keep your site visitors in mind when selecting an ad format. You don’t want the ad to dominate your entire blog page which would annoy your readers. I’d recommend starting with a small rectangle or horizontal row format before going too crazy.
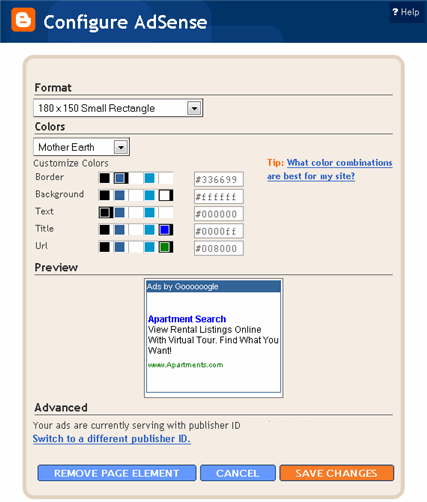
Don’t forget to also select a nice color scheme that matches your blog. Statistics show that the more blended in your blog ads are, the better change people will click on them. Remember to abide by the Google TOS though which I encourage you to read before breaking the rules by accident. Now once you’ve got the exact color scheme and ad format ready to go, click on the orange “Save Changes” button to add it to your blog.
No comments:
Post a Comment